
Wonderflex
- Dec 7, 2020
- 7 min read
Updated: Dec 10, 2020
Wonderflex is a thermoplastic made of a synthetic polymer. It has polyester grid on the backside of it that acts much like the warp and weft of fabric. When not activated it is a very hard plastic, akin to the plastic of a thick blister pack (the ridiculous packaging things like scissors come in). It comes in large sheets and is a little bluish. The smooth side readily accepts paint, the grid side is a bit rough.
While I have tried my best to learn these materials I am not a master of any of them and anyone who has ever made anything can tell you it’s easier the second time, so please take my words with grains of inexperienced salt, but I hated working with Wonderflex. To me, one of the joys about craft materials is that they are not traditional fabrics, they can bend strangely over curves, need limited darting and if you tug on one end it’s not necessarily going to affect the rest of the piece. Not so with Wonderflex! The backside of Wonderflex has a grid which gives the material grain, so like fabric it stretches best on the bias. But also like fabric, if you pull on the bias you are greatly impacting the rest of the material and warping it. I don’t think this mask form was particularly suited to Wonderflex with its depth of detail, but I did learn a lot from doing it.

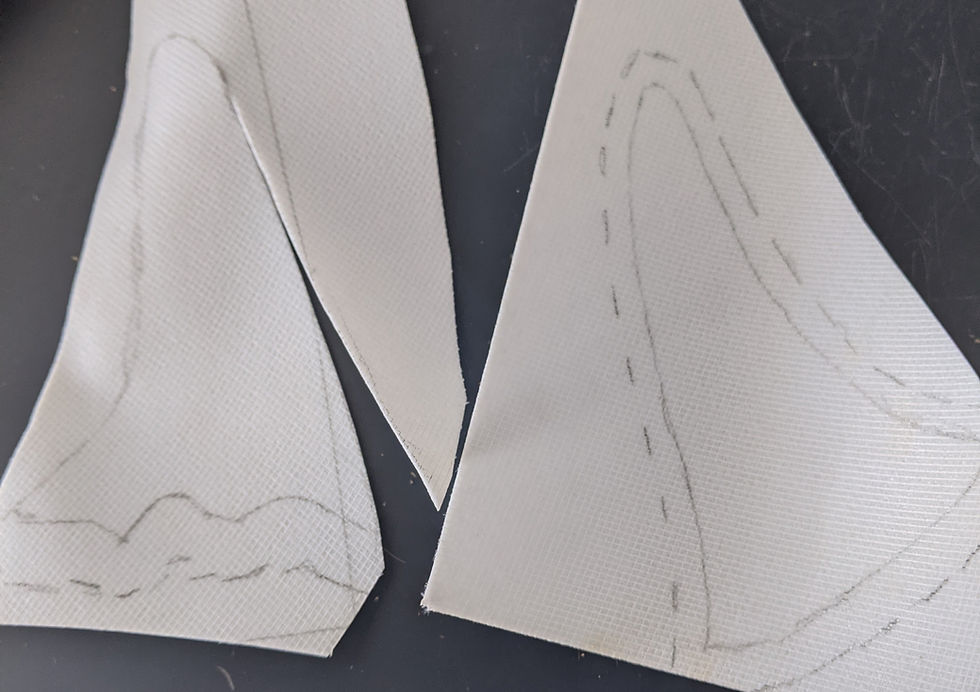
I started by cutting a large square on the bias and dipping it in very hot (but not boiling) water, almost immediately it flattened and became flexible. After waiting for about a minute I pulled it out and threw it on. Right away I started working the nose and stretching it into the eye sockets but every pull I made threw the whole piece off my head form. No shapes were staying because it kept slipping all over the place. In frustration I tugged too hard and made a nice big rip in one of the cheeks as well as a couple permanent folds.

I threw up my hands and sent Ellen an email as it was obvious to me that I wasn’t properly understanding this material. She responded that it works similarly to buckram and I needed to pull on it right away and get the base shape, let it dry and then work in more detail. This proved to be a good method for just about all of these materials, get the base shape, let it set, go in for deeper details, let it set again and then go in for even finer work.
After a few days I got ready to stretch the wonderflex again. This time I cut a smaller oval so I wouldn’t have as much seam allowance to deal with. When it was ready I pulled it out of the water and stretched it along the bias in both directions and placed it on the head.

I didn't worry about getting anything more than light impressions of the dips and curves of the mask, I was mostly concerned with getting the material stretched all the way around the face so that it at least set in the right face curve, once it was there I left the form lying down and let the Wonderflex sit for 20 minutes (this is overkill, but when I was in between steps I wanted to give good buffer time to make sure things were truly sturdy). Once it had set I got my heat gun and got to work. One of the ways to work with wonderflex is to keep hot water beside you and then only dip the places you want to work on into the hot water. This mask shape isn't ideal for that so I used the heat gun on the high setting, I found the low setting did nothing really.


Using the heat gun and my thumbs and some modeling tools I was able to start working in the deeper curves. I found I needed to slice eye slits to allow the Wonderflex enough give to deal with the protruding cheekbones and eyebrows, but even with slits cut it felt too tight to really get the shapes I wanted. I also found I would be able to stretch the Wonderflex where I wanted it to be sometimes, but it would thin out, like along the sides of the lip and I worried that those places will not be as strong.


I needed to use gravity more with Wonderflex than I did with any other material. Like fabric, Wonderflex ripples and bubbles up if it isn’t kept flat, I found the best way to do the cheeks was one side at a time with the head form on its side so I could heat up the cheek and then let it sit and dry with gravity’s help. Even after doing that I was rather disappointed with how wrinkly the edges of the cheeks looked. For some detail areas I used a culinary torch to warm up small areas which worked very well. In the end I wasn’t able to get as high relief as I could with other materials. Pushing one dip lower meant taking away depth from the dip next door. Unlike the other materials Wonderflex does not allow you to melt your way into a shape, it’s possible to stretch out Worbla and Fosshape, but Wonderflex will only expand as large as it’s grid will allow.


When doing the horns I started to understand why one might like Wonderflex. It was so easy to just get a piece hot and drape it over my wrapped foam clay horn, it took the shape immediately and cooled. I did find that I needed two gusset-like pieces at the outer base of the horns, as the stretch in the Wonderflex didn’t seem to be enough to curve over the head. Once the halves were formed I fused the pieces together using the culinary torch. I found this method really effective and was able to heat up small areas and then press the seam between my fingers or against my clay horn to get rid of the seam line. It was also really easy to do the final positioning of the horns onto the mask. I formed them on the foam clay mask, but that is not a carbon copy so I knew there would be some adjustment when putting it on the Wonderflex mask.

What was nice is I could heat up the horn base with a heat gun and hold it onto the mask in order to get the right fit, but the horn wouldn’t stick, it would just harden in the perfect fit shape. Once I was satisfied that it was in the right position I used the torch to go around the edge of the horn base and fuse it to the mask itself. I did struggle with keeping the horns completely upright the whole time. I found it was most successful to have the whole mask cool and then just heat up the front of one side of the horn and pull the horn up, giving it tension from the mask, encouraging the Wonderflex to harden smoothly and then repeat that to each side. I did this several times, I still have one wrinkle in the back of one horn that I couldn’t manage to get out and I’m sure there are some other ways of doing this.


I cut this mask out raw, with no foldover seam allowance. I did this because I saw how the wonderflex folded up on itself and I didn’t think it would come out nicely. I tried to flatten the cheeks out more as there was no more seam allowance, but I found it impossible to get all the wrinkles out. Later, when I was getting ready to take the before the paint shots I noticed that the edge was somewhat rough and scratchy. I grabbed the torch and ran it over the edge to soften it but as I did so the cheeks started moving, I had only grazed the edge but it was enough to set it off. This was a very scary moment as I had already broken down my clay mold, I used the head as best I could to steady it, but so much of the mask got wobbly. In the end I got it to where I thought it would be alright and then swore to not bring heat anywhere near it again.


After painting (for how I did it please see the painting section) I lined the mask with felt. I did this process on several of the masks and while it was surprisingly easy to lay down and glue it was insanely hard to cut out!


If any has shown my mastery in this project it is the ability to cut away the edges at the eyes and lip, those turns may not look super tight but when trying to get into it with tiny scissors it was really difficult. Not work for beginners.


I did not like working with Wonderflex. I found it’s grain to be in my way and hurt me more than helped. Much like the Fosshape I know if I wasn’t alone doing it it would have gone better. I also don’t really think this was the right project for the material, the depth of the curves required something with more give. I can see why it would be good for a shop without a lot of craft stuff, as all you really need is some hot water to make it work. I think it would also be my first choice if I ever had to do a fabric frozen in time sort of costume as it looks uniquely like fabric and makes nice soft curves. I will also say that I logged the least amount of time with the Wonderflex, so it was very fast to make, though I think the time I spent also demonstrates that I don’t really know exactly how to work with it.
Comments