
TranspArt
- Dec 5, 2020
- 11 min read
Updated: Dec 10, 2020
TranspArt is Worbla’s completely see through cousin. I say cousin because it acts quite differently, even though it is made by Worbla. On a personal note, I also think it is just about the worst name it could be, supposedly it’s pronounced “Transpa-Art” but that’s not how it is spelled and even if it was it should still have a better name. It feels and looks like thick clear vinyl, but it responds to heat and is moldable like Worbla. This material is not an obvious choice for a mask, but I wanted to explore it and see what I could do with it. I was also intrigued by the idea of having a mask light up, something that TranspArt is great for. I looked into how I could paint it and found that one of the most successful ways to color TranspArt (and clear resin by the way) is with iDye Poly, a polyester dye I have never worked with before. The reason I have not worked with it is because it is highly suspicious! In our dye class Ellen taught us to have a healthy wariness about the materials we work with and dyeing polyester means changing the chemical composition of the material, which means the material is giving off something in the fumes, which may or may not be great. Still, I thought dyeing the whole thing an orange-yellow fiery ombre would look very cool so I figured out how to dye outside.

After much collecting of non-food safe items and a burner and an extension cable I waited for a less cold day (this was already mid-November) and made a station outside. I started with a yellow vat to dye the horns in preparation for them to be ombred from yellow to orange. I knew there was way more dye in the packet than I would need, but I had no way to store the extra dye so I figured I may as well use it all as well as the “color enhancer” that came with it.

As a result my dye bath was completely opaque and the color of beeswax. It smelled very strong and there was an oily rainbow film on the top of it. I had put the dye in when the water was fairly hot, but I wanted to get it to a low rolling boil before dyeing as I had seen that recommended in a cosplay video. This took a very long time, the combination of a weak electric burner and cool wind outside seemed to slow it down a lot.


Eventually I got it hot enough and dipped in some samples (which thankfully floated otherwise I would have never found them in the waxy soup). The color was fast and impressive and after looking at my samples I decided I liked the look of two minutes and dropped my horns in, one set of front and backs at a time. I was worried they might stick to themselves or each other, but they never did. After two minutes I took them out and rinsed them and was extremely pleased by their new color. I cleaned up and got ready to do the red.
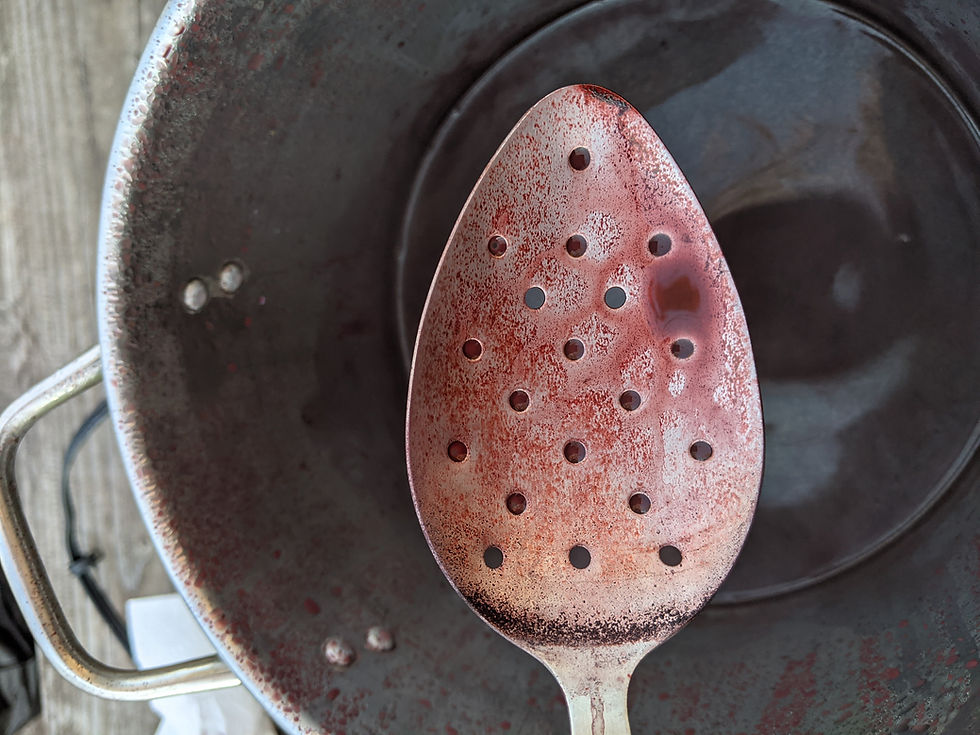
I prepared everything the same way, but when I poured the red dye in I instantly regretted that I did not paste it out (dissolving it in a small amount of water before adding it). Every time I pulled my spoon up there was still so much undissolved dye. Red is a troublesome color and often needs more attention to get it dissolved, to make matters worse it was getting colder outside and the pot didn't seem like it was ever going to boil. Eventually, fearing the sun going down and the wind picking up I decided it was hot enough and did some samples.
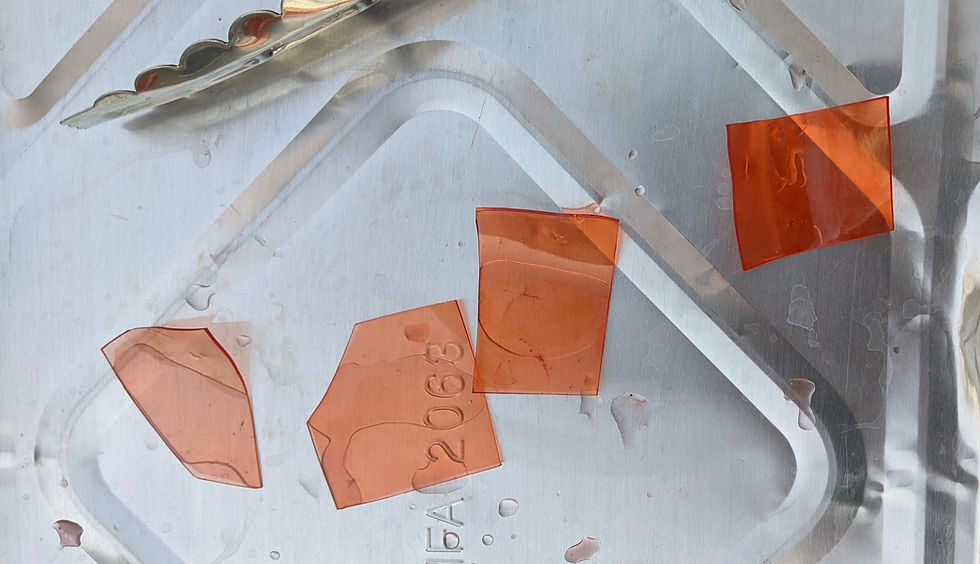
Each sample came up with bits of dye powder on them, but when washed off they didn't leave a mark. The samples also came out orange instead of red, which was expected.


After the samples I dipped the horn pieces, each front and back at the same time in and out of the pot to make a yellow to orange ombre. I did this for two minutes and then got ready to dye the big piece of TranspArt for the mask itself.

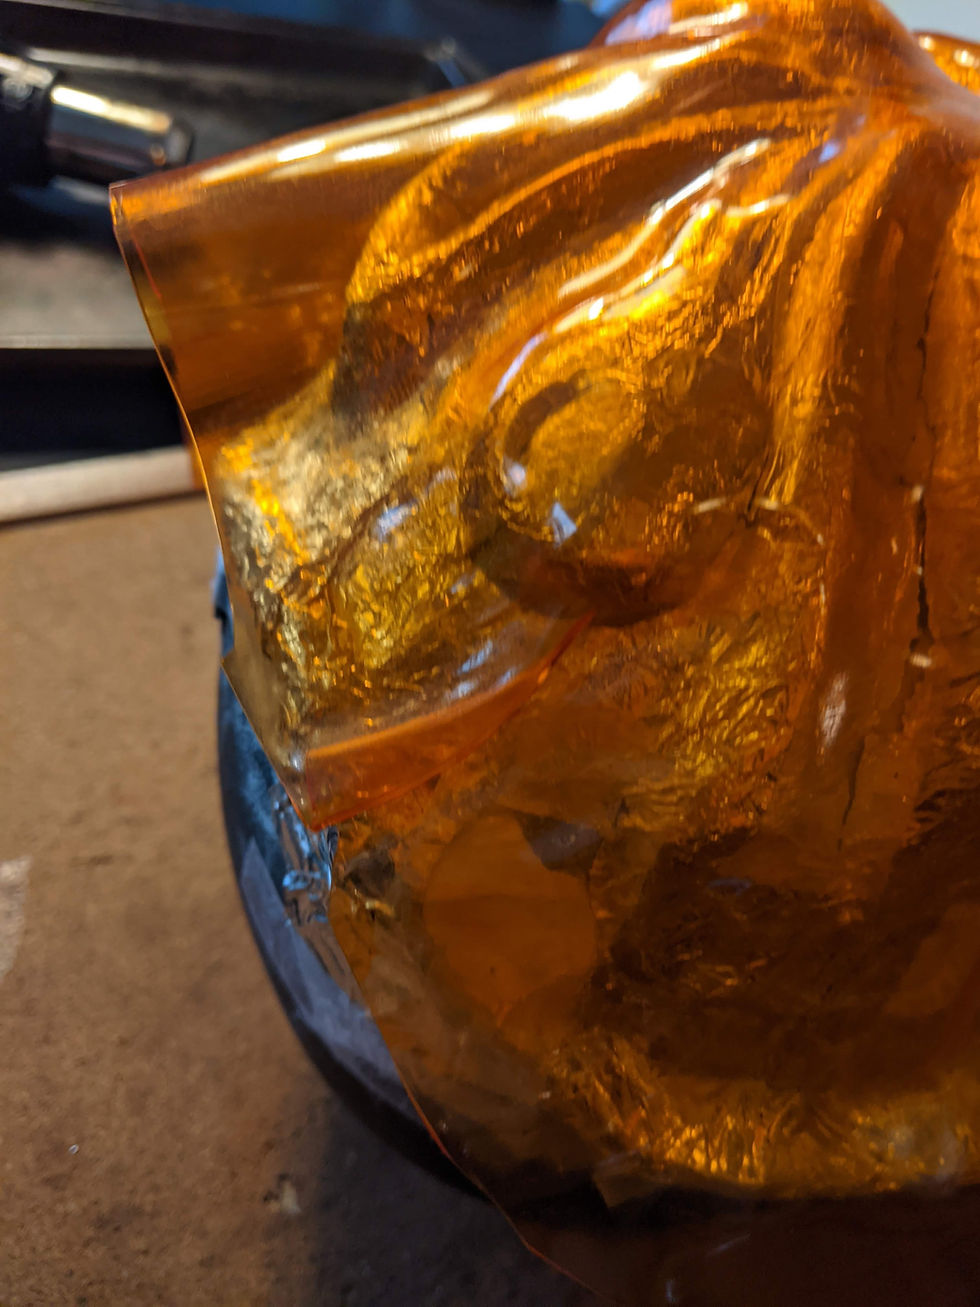
In order to do this I needed to pour the dye into a disposable foil pan because I needed something large enough to hold the flat piece of TranspArt. The dye bath was very hot, but with such a large surface area it cooled quickly. It was only supposed to need four minutes, but when I pulled it out at four it was barely tinted. Racing the sun and the cold I poured (actually my husband poured, he saved me from my clumsy self many times during this thesis) the dye back into the pot to heat it up again. It was struggling to get to a boil and reasoned with myself that maybe it just needed more time, and the heat wasn’t crucial.

I poured it back into the tray and let the worbla sit in it for another 8 minutes until it was clear it wasn’t making a difference at all. Annoyed, I stored the dye in two plastic containers with lids and decided I would try again tomorrow, but in my basement.

In the basement the dye boiled in no time, and while I had a fan pointing vapors out to a small window, the air was still spicy. I wore an N95 and hoped for the best. Instead of using the disposable tray this time I sacrificed an old cookie sheet so that it could sit on the burner and continue to be heated. This worked like a charm.
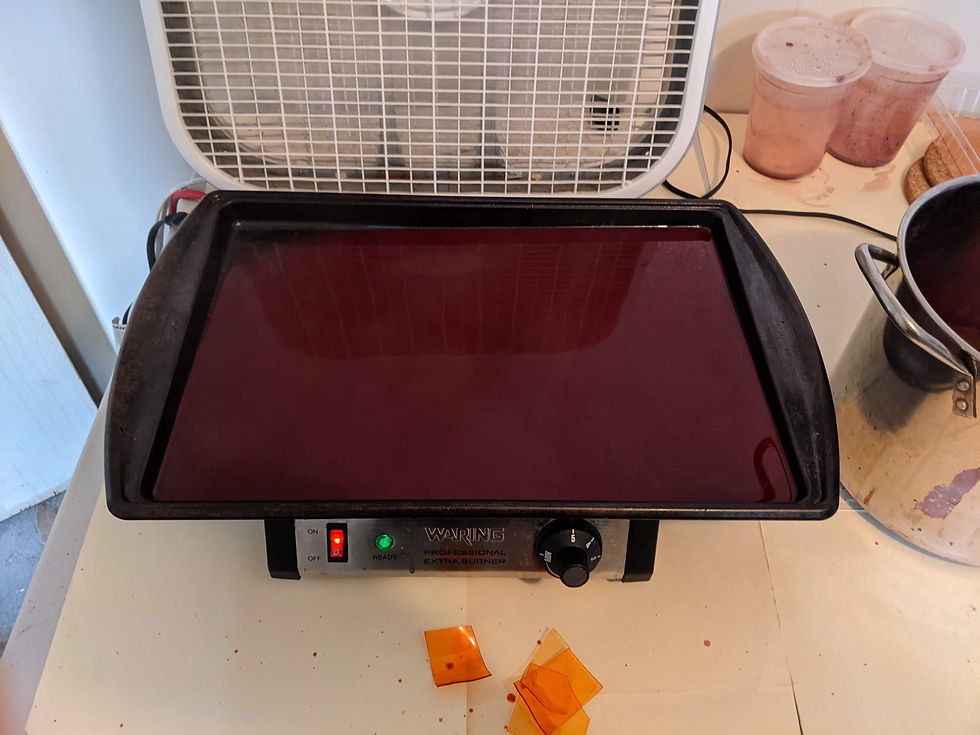
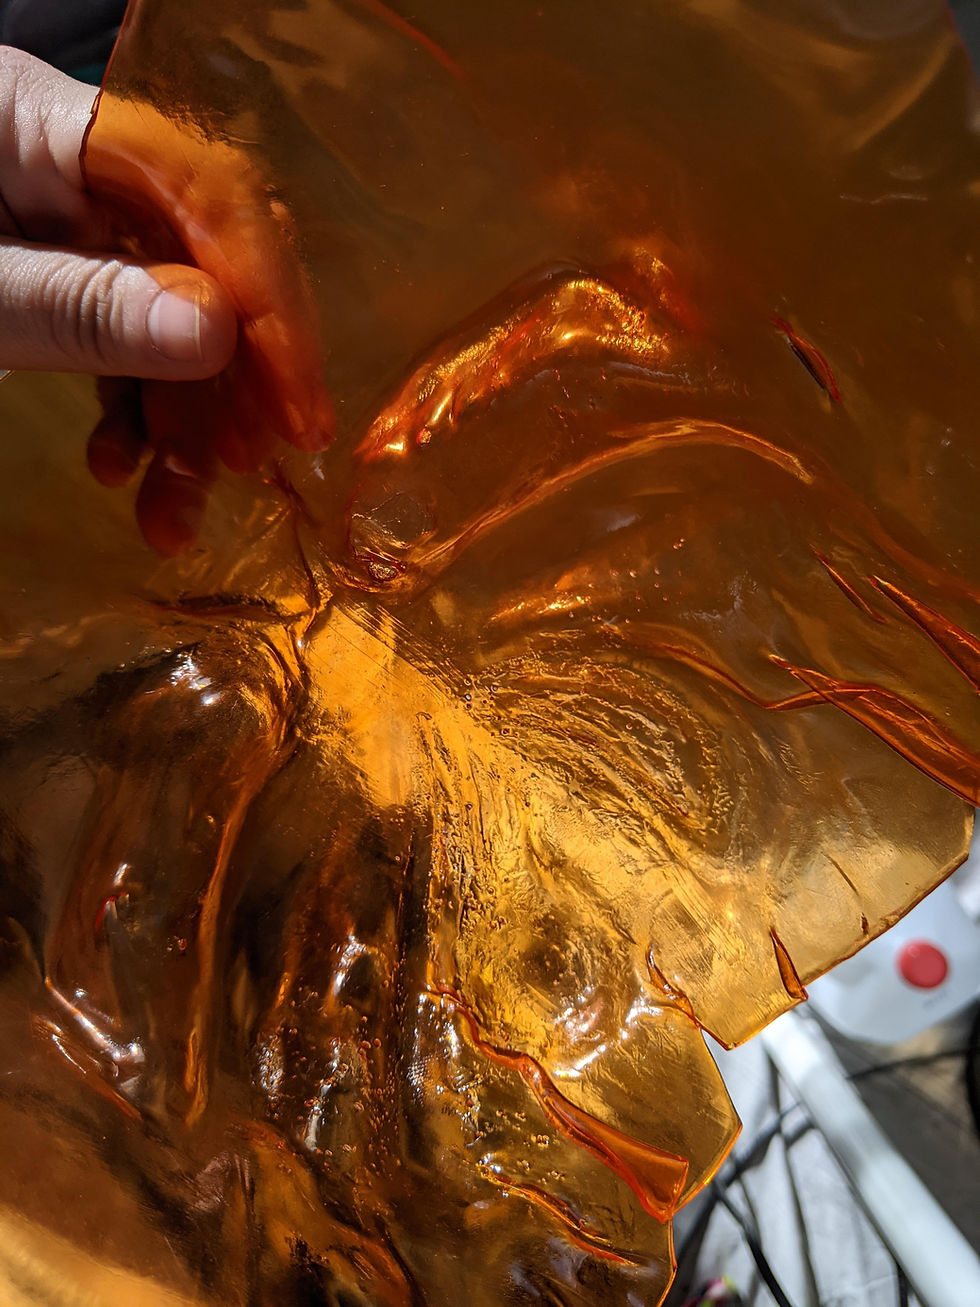
It was clear that heat was crucial in the TranspArt accepting dye, so much so that the area right above the circular burner ended up more saturated with dye than the rest of the piece. If I were to do this in the future I would not try to dye such a big piece unless I had proper equipment for it. When it was sitting in the dye bath the Transpart was the floppiest I have ever seen it. I had hoped to take it straight out of the dye bath and then put it directly onto the mask mold, and I think if I had it would have been very successful, but the logistics of not splattering dye all over a house I do not own was overwhelming and I couldn’t figure out a safe way to do it.

When it came to forming the mask I knew I was going to need very high heat. I knew TranspArt takes a much higher temperature to heat up and cools down quickly, but I found this common descriptor of the material to be an oversimplification. What I experienced was that the TranspArt goes through several stages.
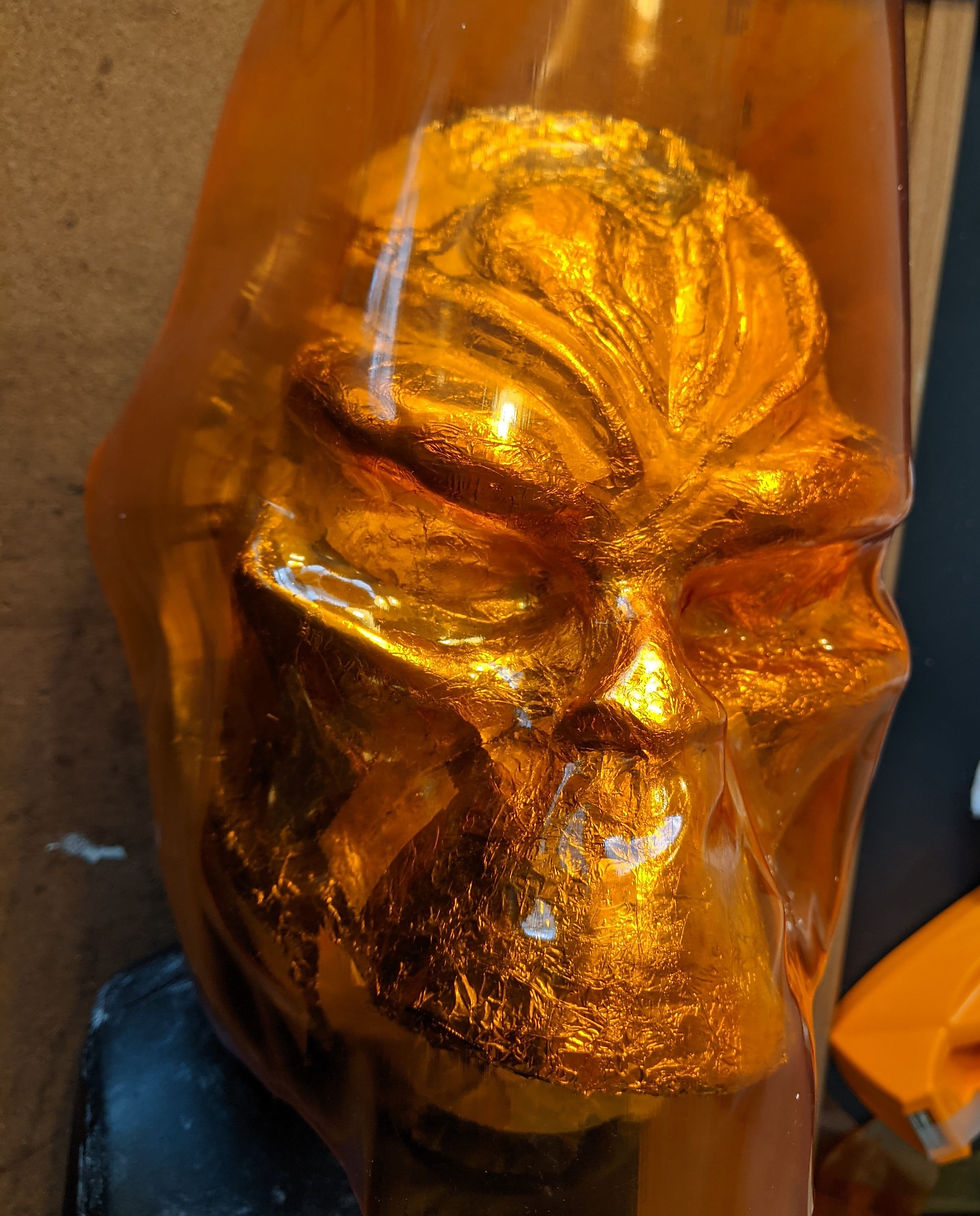
When it is first heated, it gets a bit droopy, then when hotter it actually seems to stretch out, trying to revert to its original flat form until finally it is so hot it starts to look like liquid glass. At this point it is at its most moldable and it does not cool down quickly, on the contrary, I felt I needed to hold my hands in place for even longer than on most materials for it to retain its shape. I did not fully understand all of this until I had already done a lot of work. The phase where it is trying to revert to its original form is maddening, and even if I was only heating up one small area, the surrounding areas would get to that heat, causing constant warps. I was shocked with how pliable the TranspArt becomes when hot enough, it is the consistency of taffy and still stays clear. I found it hard to discern how hot it was getting sometimes so there are some spots where a tool went too deep or too far and those were impossible to correct (save for gluing rhinestones on the blemishes).

Like many of the other masks, I got the basic shape first and then went in for details after it had set. I was cognizant of the dye getting thinned out, so I tried to not stretch and pull it too much. I feel this was a mistake. The times I did stretch it out I felt like it was able to create a new shape without wanting to return to being flat. I think much like cling film it needs a stretch to activate and then it can hold better. I used the torch for details and it worked well except that I scorched some areas on the forehead which created bubbles that I hoped wouldn’t be too obvious.
The next day I went to pull the mask off and was disheartened to see that in places where I had pressed down hard the Transpart had picked up the texture of tinfoil beneath it. There were little wrinkles on the underside of much of the mask. There did not seem to really be anything to do about this so I hoped the plan I already had to paint parts of it would make this less problematic. I had assumed when I started that it would be hard to see the features of the mask if it’s see through and I was right. I wanted to use glass paints to give definition to the shadows and highlights.

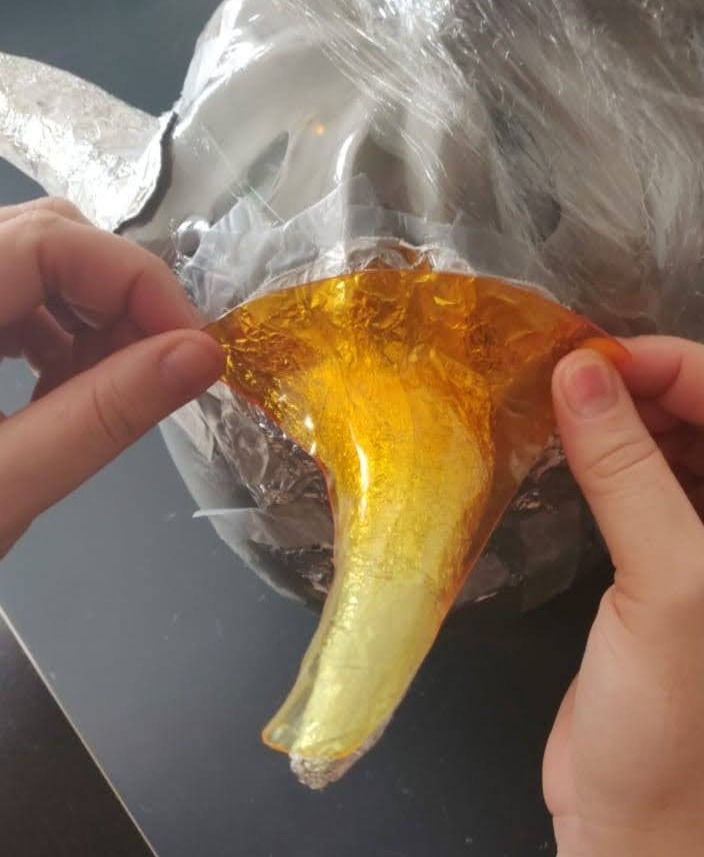

By the time I was shaping the horns I felt I had figured out how the material worked better, but I struggled with these horns more than any other pair. Transpart does not stick to itself very well so my plan was to have a ¼ inch seam allowance on the back half of the horn and then krazy glue the front piece on top of it. I did most of the horns with this thinking, but unlike the other thermoplastics, this seam would be highly visible so it was important that it look as even as possible. I had to tinker with heat and molds and trimming off stretched out parts for a long time before I could get one of the horns together.

I found that gluing the base of the horns together made it easier to shape the front piece around the back piece. The second one still took forever, but went better. After each use of the torch I would need to hold the TranspArt in place until it felt completely cool, otherwise the sides would start to roll away from where they needed to be.
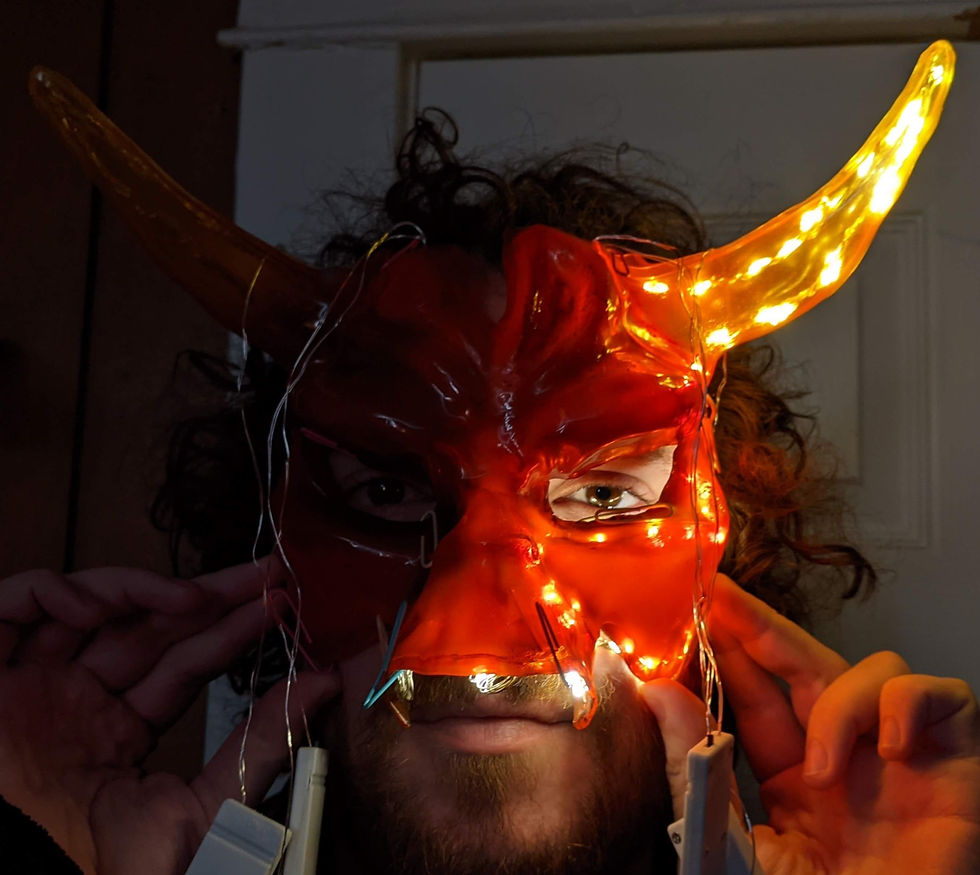
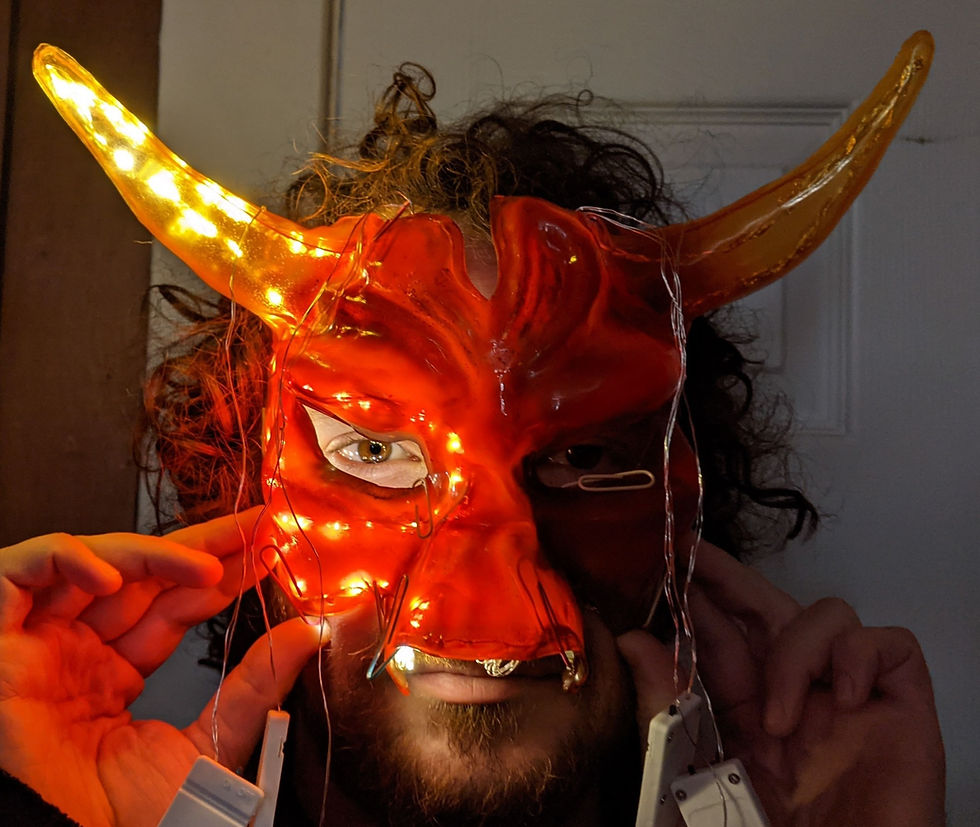
When it came to attaching the horns the fact that TranspArt doesn’t stick to itself was a gift. I was able to heat up the base, shape it to the mask itself and let it cool to hold its shape and then remove it and add krazy glue. After the horns were glued on I cut away the excess from the mask that was covering the opening of the horns so I could try putting lights inside. I did some research into lighting as well as asked some friends who do interesting LED work, I wanted to take advantage of the see-through nature of the material. I had hoped to find a simple way to lay some lights in, I even purchased two short LED strips with tiny battery packs.


I did a lot of experimenting with placing the lights, but what I had purchased didn’t make turns well. I was also surprised to find the lights didn’t really light up the mask, they just shone straight through. This was merely my inexperience in lighting something up, if the material was more clouded there would be more of a glow but it is so transparent that it just shows the bulbs, I did find that lights looked better under the seam of the horn, where there are two layers. After experimenting with a softer LED string light that I could position anywhere I want I ordered new lights of the same type, but with tiny battery packs again. These proved to be more successful and I planned to glue them in after painting.
Instead of just cutting the edge raw I wanted to have a fold over around the edge of the mask. In general I prefer if there’s some rolled over edge in most materials, it just looks nicer from the front, but this time it was so I could have a nice defined border to run some lights behind. I used the torch to heat up the edges after I had trimmed it down to just a ¼ inch from where I wanted the end of the mask to be. I burned my fingers plenty of times during this, I was pinching the seam allowance and the outer layer of the mask together and the heat gloves made a mark so I was again grateful for my callouses.

The effect was not as clean as I had hoped. The seam allowance buckled and made dips and bumps that were visible (of course). I hoped my final treatments to it would distract away from the many imperfections. In general this mask is made to be on stage and not to be seen up close, I struggled a lot with it and the attempts are visible. I would go about it all differently were I to make a see through mask again, and I’m not sure I’d definitely use TranspArt. In “hemming” the edge I found that any fold on the horns would show up and not be pretty from the front so I didn’t fold them under, I trimmed them down and tried to adjust the horns as best I could to make a nice line on the forehead. I found there were some areas of the horns that would be stubborn and insist on folding in, like it was being heated differently. I fought with it a lot and continued to burn my fingers but in the end I couldn’t get some of the wrinkles out.

This whole edge procedure was really dangerous in terms of the mask getting out of shape. I was constantly putting it back on the form and using both my hands to hold it in place for long periods of time.


After painting (please see the painting section to see how I did it) I tested what the lights looked like again. Now the mask was no longer totally see through, so it changed.

Gluing in the lights was a nightmare. The outside edge ones, that sit on the folded up hem allowance went on with no difficulty, they attached pretty easily with krazy glue as long as I held them in place for a good long time (yes, I lost more fingerprints in this step). The real trouble came when I was trying to attach the lights around the eyes. At first it was going fine, but as I worked I saw that the glue didn't want to hold, and even worse, it was pulling up the paint. My only hope was to re-glue the parts of the lights that had pulled up paint with them, trying to fill in the holes they made. This was awful and stressful as it seemed as though every move was causing more damage to my mask. Eventually though, it was all glued down.
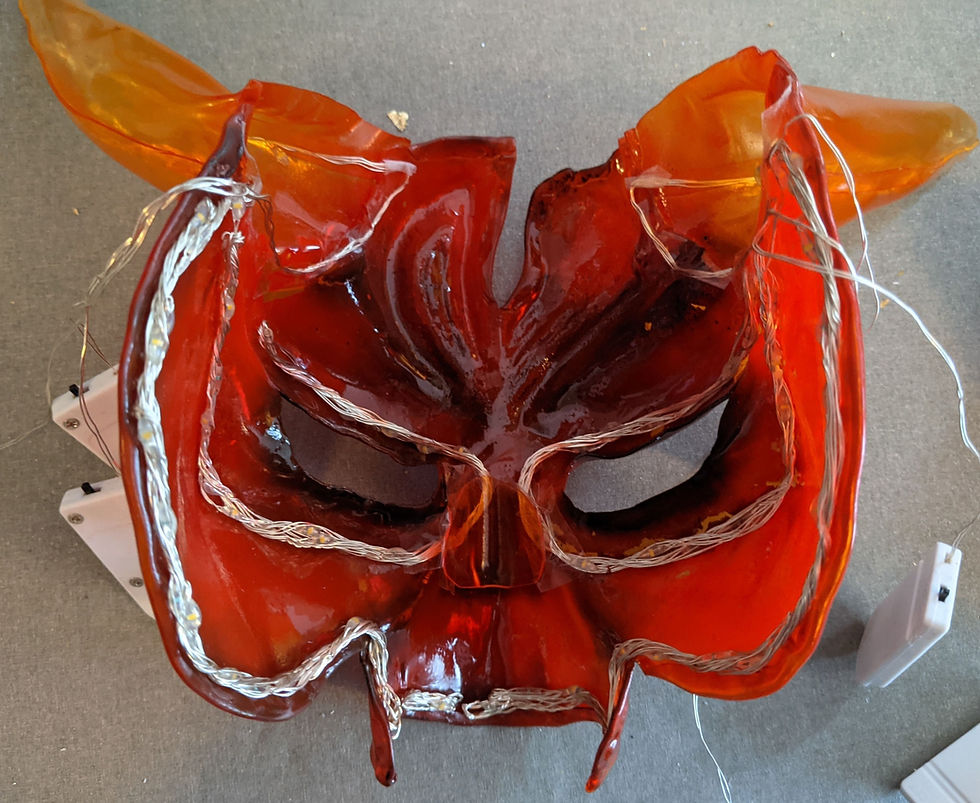
After the wires were in I set to work on the difficult elastic band that would also serve as a battery pack. I first made little tabs out of some of the extra orange TranspArt I had.


These tabs are held on with krazy glue and I wont lie, they kept popping off. I think I've finally secured them, but the glue really isn't enough. I think a better way to do this would've been to make an outside and an inside to the mask and sort of sandwich them together, holding lights and tabs between them. This mask is definitely made for the stage and not for film. It went through a lot during the painting and lighting process, and it shows. But from afar, and especially lit up, it still looks good.


Working with TranspArt was a journey. I logged the most hours working with it, in part because of the lengthy dyeing process but also because it is truly difficult to work with. It has a feeling to it that I can’t really compare to anything else. It’s plasticky and elastic and strange and takes a lot of coddling to make what you want to happen, but that all seems like an OK price to pay for a moldable see through material. The fact that it doesn’t get cloudy or waxy looking when it’s stretched is really pretty remarkable, along with its unbelievable elasticity. It took me the entire process of making the mask to begin to understand how to work with it. I believe now I could make something that would look cleaner, but it would still be very difficult. I also believe it would be a good candidate for a two-part mold as most of the struggles with it are about needing to hold the shape in place for so long.
Comments